Vape Device Setup: What to Do Right Out of the Box
When you buy a brand-new vape device, the excitement is real. You want to rip open the box, fill it up, and start vaping immediately. But before you take that first puff, there’s an important process you should follow to make sure your device works perfectly, tastes amazing, and lasts longer. Properly setting up your vape right out of the box not only gives you a smoother experience but also prevents issues like burnt coils, leaks, or weak vapor production. This guide walks you through every step of setting up vape devices the right way—whether you’re using a pod system, vape pen, or box mod.
Understanding Your Vape Device Before Setup
Before you even touch the buttons, it’s important to know what you’re working with. Every vape device has key components: the battery or mod, the tank or pod, the coil, and the mouthpiece. Some devices come pre-assembled, while others require you to put the parts together yourself. Reading the instruction manual might seem boring, but it’s essential—manufacturers include valuable details about wattage ranges, coil compatibility, and filling instructions. Skipping this step is one of the most common mistakes new vapers make.
Unbox and Inspect Your Vape
When you open your vape packaging, check all parts for damage during shipping. Look for cracks in the tank glass, loose battery doors, or any signs of liquid leakage. Make sure the kit includes all advertised items—typically the device body, coils, charging cable, spare glass, and O-rings. Confirm that the coil type matches your preferred vaping style—sub-ohm for big clouds or higher resistance for a tighter, cigarette-like draw.
Charge the Battery Fully
Even if your vape comes partially charged, it’s smart to give it a full charge before the first use. A complete initial charge ensures battery calibration and longer lifespan. Use only the provided charging cable or one recommended by the manufacturer, as cheap or mismatched chargers can cause battery damage or even safety hazards. If your vape uses removable batteries, check they are installed correctly, respecting the positive and negative terminals.
Prime Your Coil
One of the most crucial steps in setting up vape devices is priming the coil. This process saturates the cotton inside the coil with e-liquid, preventing dry hits and burnt taste. To prime the coil, apply a few drops of your chosen e-liquid directly to the exposed cotton through the wicking holes and the top opening. Let it soak for at least 5–10 minutes after filling the tank or pod. Rushing this step is the fastest way to ruin a brand-new coil.
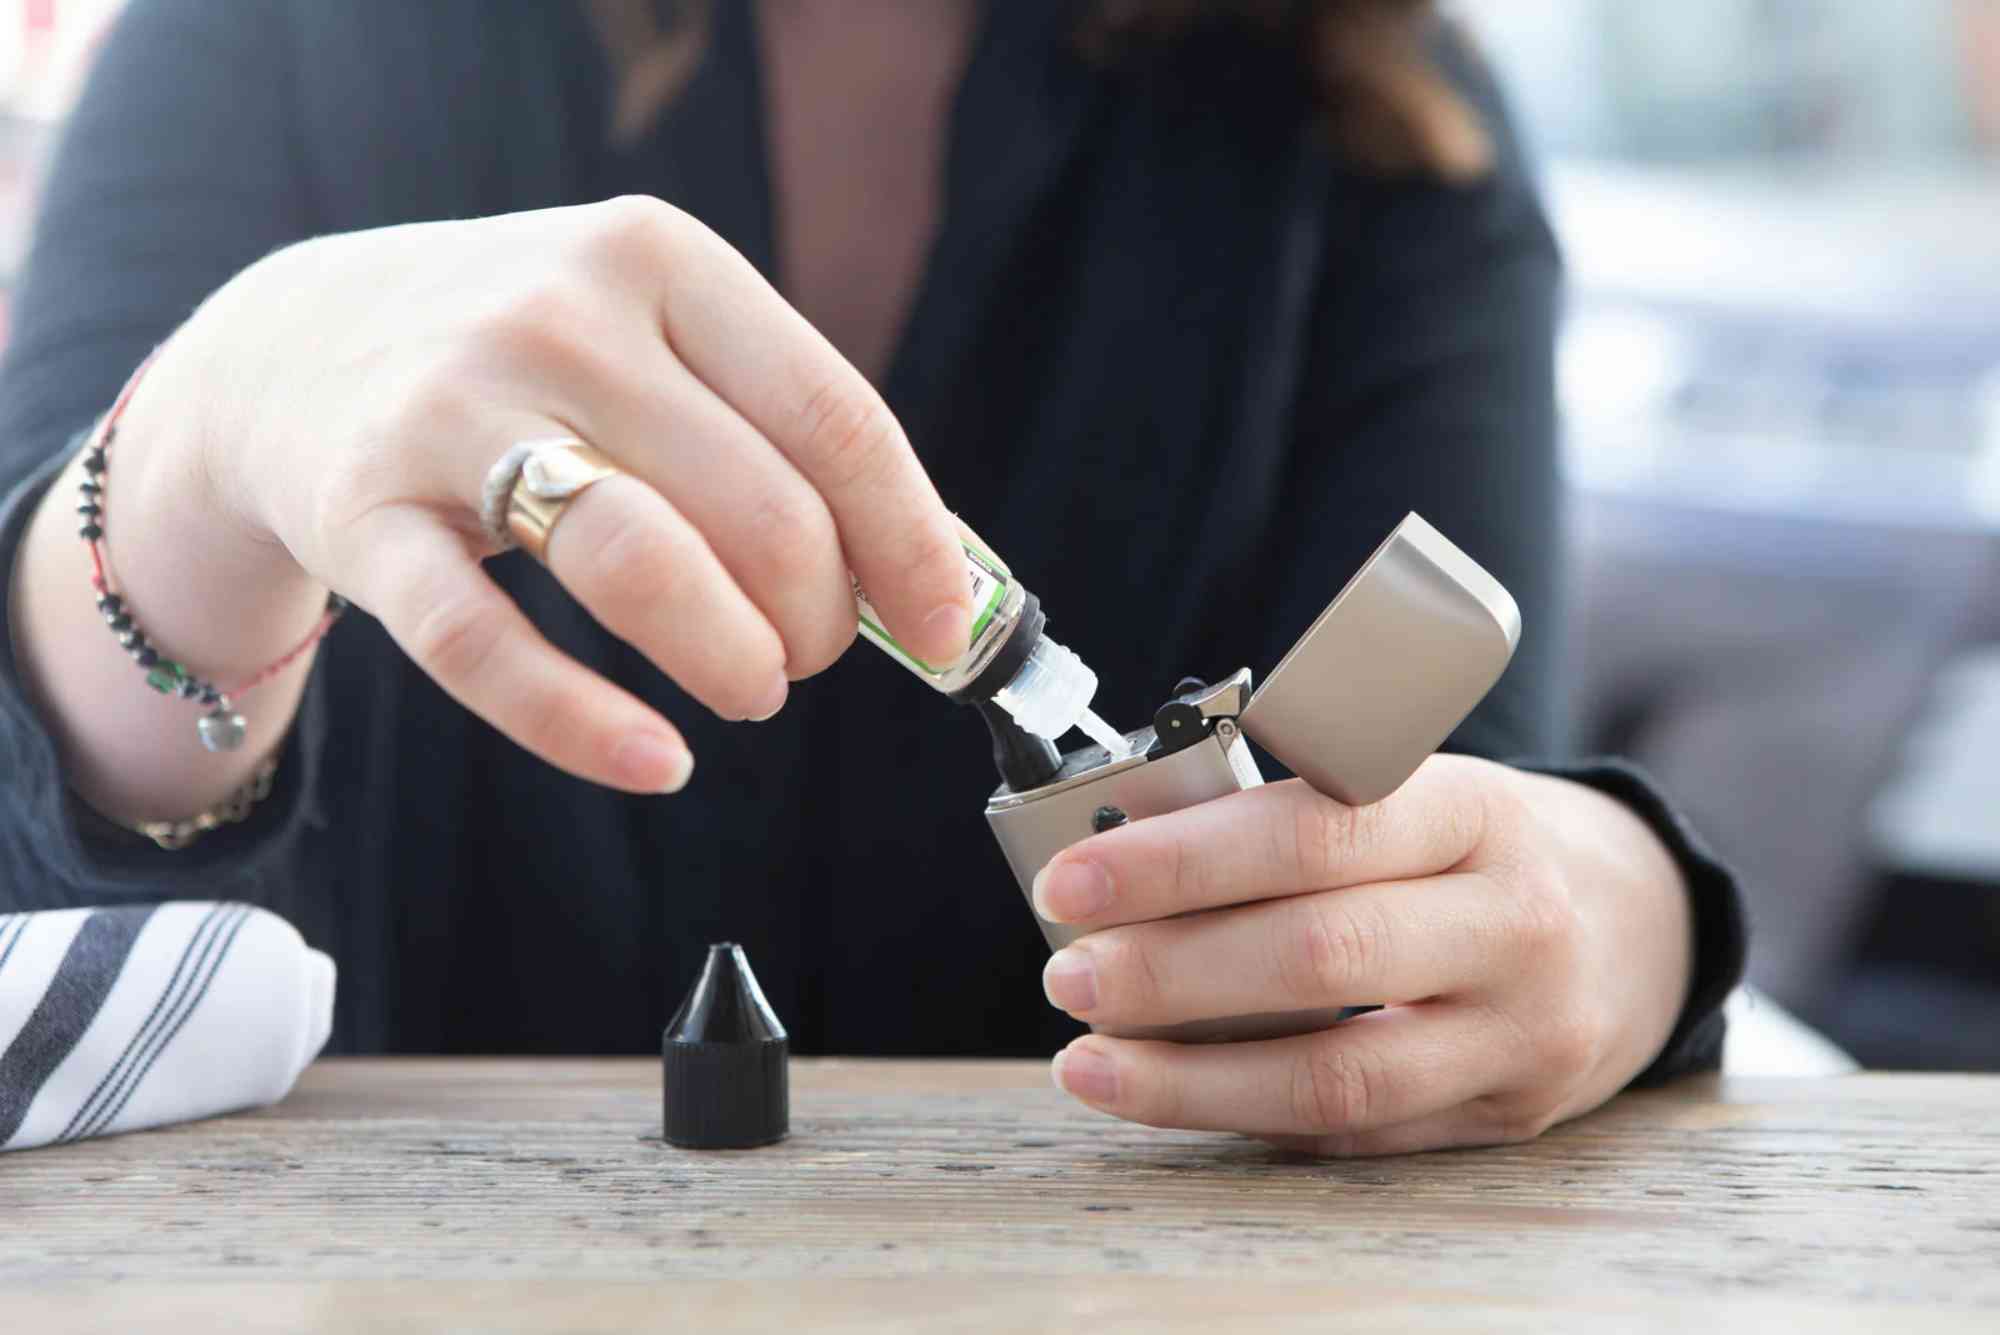
Fill the Tank or Pod Correctly
Each vape has its own filling system—top-fill, bottom-fill, or side-fill. Always follow the manufacturer’s instructions. Avoid overfilling, as it can cause leaking and gurgling sounds. When filling, keep air bubbles in mind; tilting the tank slightly while pouring can help prevent them. Use the correct type of e-liquid for your coil resistance—sub-ohm coils work best with high-VG liquids, while higher-resistance coils pair well with higher-PG blends for stronger throat hits.
Adjust Airflow and Wattage Settings
If your vape has adjustable airflow, set it according to your preference before your first puff. Wide-open airflow produces cooler vapor and bigger clouds, while tighter airflow increases flavor intensity and mimics cigarette draw. For wattage, start at the lower end of the coil’s recommended range. Gradually increase it until you find your sweet spot—this protects the coil from overheating and extends its lifespan.
Take Short, Gentle Puffs at First
When you start vaping a brand-new coil, take a few short, gentle puffs rather than deep inhales. This allows the coil to break in and ensures consistent saturation. The flavor may improve after the first few minutes of vaping as the coil settles. Avoid chain vaping too quickly during the first tank; giving the coil a brief rest between puffs prevents overheating.
Keep Your Vape Clean from Day One
A clean vape is a happy vape. From your very first use, make it a habit to wipe away excess e-liquid from the tank, battery contacts, and mouthpiece. Disassemble and rinse your tank components with warm water every few refills, especially when changing flavors. This prevents flavor ghosting and keeps your vapor tasting fresh.
Common Mistakes to Avoid When Setting Up Vape Devices
One common error is skipping the coil priming step, which often leads to burnt taste instantly. Over-tightening the tank or coil can also damage O-rings, leading to leaks. Using the wrong e-liquid thickness can clog coils or flood the chamber. Another big mistake is ignoring battery safety—never use damaged batteries or mismatched chargers. Being mindful of these pitfalls ensures a smooth vaping experience right from the start.
Maintaining Your Vape After Initial Setup
Setting up your vape correctly is only the first step; ongoing maintenance keeps it performing well. Replace coils when you notice a drop in flavor or vapor production. Charge batteries before they run completely flat to preserve lifespan. Store your vape upright to prevent leaks and away from extreme heat or cold. If your vape uses firmware, check for updates periodically, as they can improve performance and fix issues.
Troubleshooting Early Issues
Sometimes, even after following every setup step, problems can occur. If your vape tastes burnt right away, the coil may not have been fully primed—replace it and allow more soaking time. Leaking can happen if the coil is loose or the tank is overfilled. Weak vapor might mean your wattage is too low, the coil is not suitable for your e-liquid, or the airflow is too restricted.
Why Proper Setup Improves Flavor and Device Life
Taking the time to set up your Setting UP Vape correctly right out of the box does more than prevent issues—it maximizes the enjoyment of your e-liquid flavors. Proper coil priming and wattage settings bring out the full taste profile without scorching the liquid. A well-maintained battery delivers consistent power, ensuring steady vapor production. Ultimately, good setup habits mean fewer replacements, less waste, and better value for your money.
Choosing the Right Accessories for Better Performance
Alongside proper setup, using quality accessories makes a difference. Always keep spare coils on hand so you can replace them promptly when needed. Invest in a reliable charger, and if your device allows it, use high-quality batteries from reputable brands. Consider carrying a vape case to protect your device when traveling. Small investments like these can extend your device’s lifespan significantly.
Start Right, Vape Better
Your first moments with a new vape device set the tone for your entire vaping experience. By taking the time to properly inspect, charge, prime, and adjust your vape, you not only avoid early problems but also enjoy richer flavor, smoother vapor, and longer device life. Whether you’re a beginner or upgrading to a new setup, remember that the key to great vaping starts before the first puff. Treat your device well from day one, and it will reward you with a satisfying, trouble-free experience.
FAQs
How do you set up a vape for the first time?
Charge the battery fully, prime the coil with e-liquid, fill the tank or pod, adjust airflow and wattage, then take gentle puffs to break in the coil.
Do you need to charge your vape before first use?
Yes. Fully charging your vape before first use ensures battery calibration and helps maintain long-term performance.
How long should you let vape juice sit before using?
After priming your coil and filling the tank, wait at least 5–10 minutes to allow the cotton to fully absorb the e-liquid.
What happens if you don’t prime a coil?
Not priming a coil can cause dry hits, burnt taste, and permanent coil damage before you even enjoy your first vape.
Can I use any e-liquid in my vape?
No. Match the VG/PG ratio of your e-liquid to the coil type—sub-ohm coils need high-VG, while higher-resistance coils suit higher-PG blends.